Using QuickTime for Recording Usability Testing Sessions
10 Jun 2014Problems with Silverback
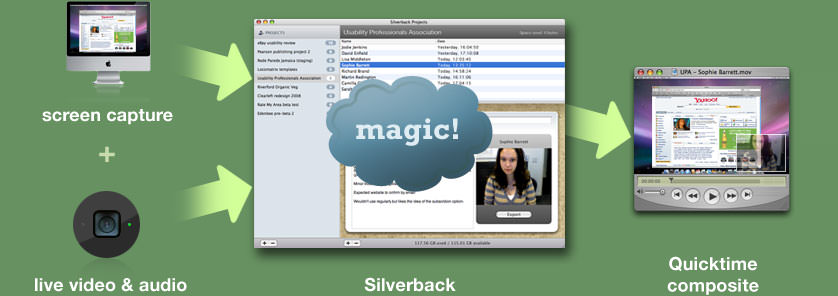
For quite a while Silverback - http://silverbackapp.com/ - has been the chosen app for recording usability testing on OS X.
 Silverback App
It offered an easy way to to capture both what was happening on screen and live audio and video of the user taking part in the session and was very reasonably priced compared to the PC alternative, Morae - http://www.techsmith.com/morae.html.
However, it has recently started to degrade as a useful system, a operating system update prevented the use of inbuilt iSight cameras on the current MacBook range;
SUPPORT UPDATE: Apple recently removed a core component that prevents Silverback from connecting to the new FaceTime Camera in the current Macbook range.
which could be worked around by making use of an external webcam. This made Silverback less of an all-in-one solution but was still workable. But following this there now seems to be a general problem with Silverback not capturing audio which they seem slow to address - https://getsatisfaction.com/clearleft/searches?query=sound&x=0&y=0&style=topics
Looking for an Alternative
I spent some time looking around for a OS X based alternative before discovering that an ideal solution was inbuilt to the OS, QuickTime - http://www.apple.com/uk/quicktime/
The reason for me that this didn’t immediately jump out is that QuickTime has always been labelled as a media player and it’s recording functions are not obviously labeled - http://support.apple.com/kb/PH5882?viewlocale=en_US.
How to Record with QuickTime
- Start up QuickTime Player
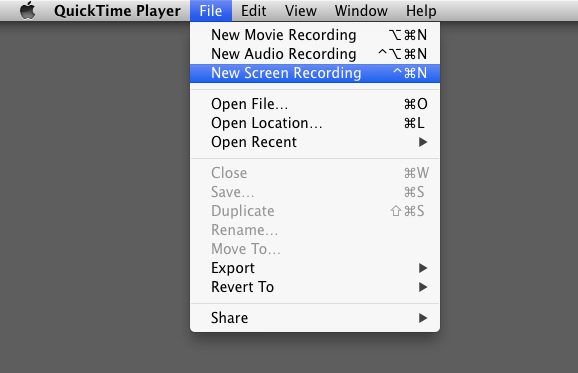
- From the menu, select File > New Screen Recording
 QuickTime New Screen Recording
- From the recording options, if required, select the microphone to record user audio to accompany the screen capture, you can also very usefully record where the user clicks
 QuickTime New Screen Recording Microphone Settings
- Then just click the red ‘record’ button to start capturing what’s on screen.
Capturing User Picture-In-Picture Style
For this you just need to start two recordings from the menu;
File > New Screen Recording
And
File > New Movie Recording
The New Movie Recording option will open a video capture screen from the inbuilt MacBook Pro iSight camera (or an alternative webcam if required), reduce this window down, drag it to the corner of the screen with the system being tested and start a New Screen Recording. This will now capture both the user and the system.